Van life offers the ultimate freedom, but limited space can quickly turn into a nightmare.
Imagine waking up to breathtaking views, then effortlessly accessing your gear for the day’s adventure. The solution lies in a clever design: the DIY Van Bed & Garage. This ingenious combo lets you create a comfortable sleeping space while maximizing storage underneath.
With built-in storage, all your gear – from bikes to living essentials – finds a designated spot, keeping your van organized and clutter-free.
This guide is your roadmap to creating your dream van bed & garage setup. We’ll walk you through design considerations, material choices, and step-by-step instructions.
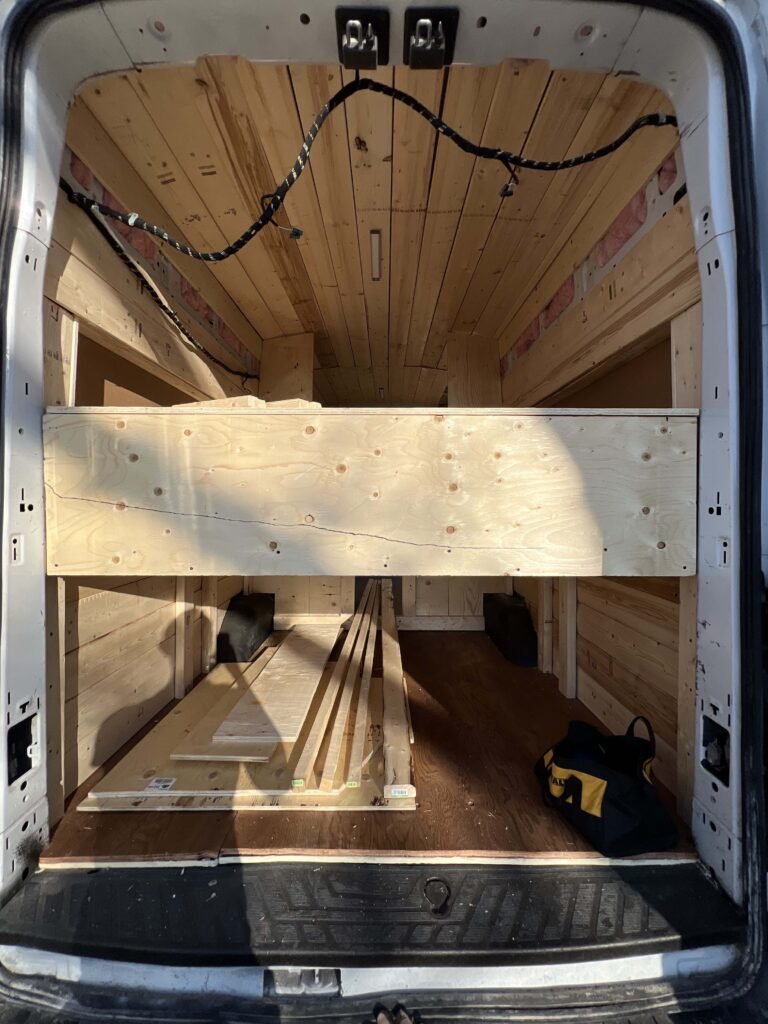
Creating a van bed and garage (also known as a mezzanine) is much simpler than you think. You’ll want to support it using 2×4 studs and cover the frame with 5/8″ plywood. Now, the most difficult part about the van bed will be cutting the plywood to fit the contours of the van. This will take lots of trial and error, but as overwhelming as it looks, you can easily measure each curve of the van and plot out your cuts on a sheet of paper to make things easier. Now, let’s show you how to get that done and how to customize the storage space that you’ll have underneath your DIY van bed!
Framing the van bed
The foundation of your dream van bed starts with a sturdy frame. In our previous guide on framing your van, we discussed the importance of using secure methods like rivet nuts and existing factory holes to bolt your 2×4 studs directly to the van body. This creates a solid base for elevating your bed platform.
Here, we’ll focus on building the framework for the elevated portion of your bed. To maximize usable space underneath, let’s aim for a height of 3-4 feet, depending on your needs and van size.
Creating the Uprights:
- As mentioned earlier, refer to our framing guide for detailed instructions on using rivet nuts and existing holes to securely bolt your 2×4 studs to the van body at designated locations. These vertical studs will act as the uprights for your bed frame.
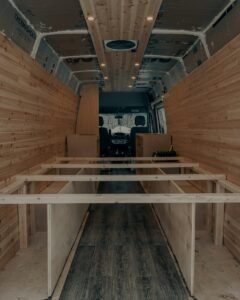
- Now, let’s add horizontal supports to connect the uprights on opposite sides of the van. Here’s where maximizing strength comes in. Instead of using standard 2x4s flat, we’ll utilize them on their side (widthwise). This significantly increases the structural integrity of the frame, ensuring your bed can handle weight and movement comfortably.
- For additional peace of mind, consider using two 2x4s stacked together for each horizontal support, creating a thicker and even stronger structure.
By following these steps, you’ll create a solid and reliable frame for your elevated van bed platform, ready to support storage solutions and create that coveted “van garage” space underneath.

Cutting plywood for your van bed
The next step in building your dream van bed involves creating a comfortable sleeping platform. Here, we’ll tackle cutting the plywood sheets to perfectly match the contours of your van.
Material of Choice:
For a strong and reliable bed base, we recommend using 5/8″ thick plywood. This thickness offers a good balance between weight and support, ensuring your bed can handle your weight comfortably.
Maximizing Efficiency:
Since most vans require two sheets of plywood for the bed platform, it’s crucial to minimize material waste. Here are some clever tricks to ensure an accurate and efficient cutting process:
- Before diving into cutting the actual plywood, create a detailed template directly on the van itself. Use a measuring tape and paper to meticulously chart out the van’s contours, marking key points and curves. This template becomes your guide for making precise cuts on the plywood.
- Always err on the side of caution! Instead of cutting the plywood sheets to a specific size right away, aim for slightly larger dimensions initially. This gives you some wiggle room in case of minor measurement errors.
- Once you’ve meticulously cut out the shape of one plywood piece using your template, you can leverage its perfect form! Lay the first completed piece on top of the second plywood sheet and carefully trace its outline. This ensures perfect symmetry for both sides of your bed platform.
By following these tips and using a methodical approach with your template, you can cut the plywood sheets with confidence, minimizing waste and creating a bed platform that perfectly fits the unique contours of your van. Remember, slow and steady wins the race! Take your time with each step to ensure accurate and clean cuts.
Creating insets to maximize space for a full-size mattress
We previously discussed the importance of insets in our guide on framing your van. Here, we’ll take a closer look at how insets can be your secret weapon for maximizing sleeping space and storage in a camper van, especially when oriented sideways to fit a full-size mattress.
Embrace the Curve, Gain the Space:
By creating insets that follow the natural curve of your van, you can gain valuable additional sleeping space. These insets essentially “push out” the bed platform slightly at the curved sections, allowing a full-size mattress (typically 75″ x 54″) to sit comfortably without compromising on usable space.
Remember the Frame:
Just like with any inset design, factor in the thickness of your bed frame when creating the curves. The insets should be deep enough to accommodate the entire width of the mattress, ensuring a flush and comfortable sleeping surface.
Optimizing for Windows (if desired):
While insets might take the place of some window space, you can still incorporate small windows strategically. Consider placing windows at the highest points of the curve where they won’t be obstructed by the bed platform or insets. This allows for natural light and ventilation without sacrificing valuable sleeping or storage space.
Remember Your Frame:
Recall the dimensions and placement of your vertical support studs (2x4s) from the framing section. The insets should be designed to work seamlessly with your existing frame, ensuring a structurally sound and functional design.
By incorporating insets that follow the curves of your camper van, you’ll create a comfortable sleeping space that maximizes space for a full-size mattress. The bonus storage potential underneath and along the curves further adds to the functionality and efficiency of your van bed & garage combo. You might even find yourself appreciating the unique design challenge as it leads to a creative and space-saving solution!
Customizing your garage/storage space
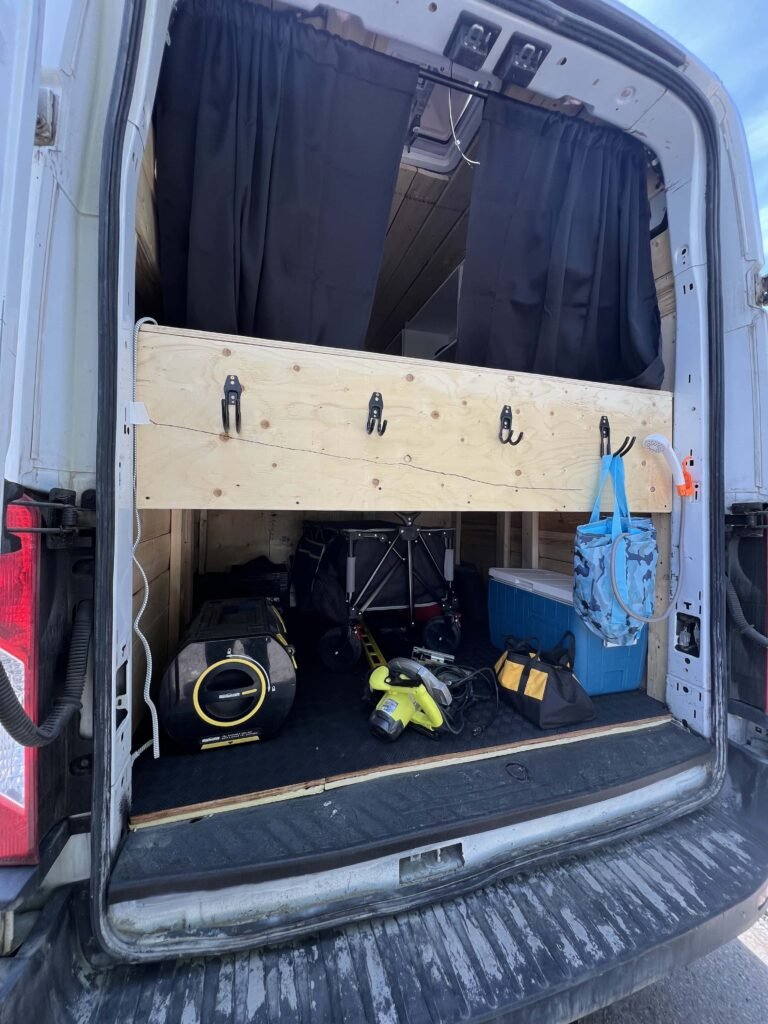
The beauty of your van garage lies in its adaptability. Unlike a pre-designed garage, this space is a blank canvas ready to be transformed into your personalized storage haven. While there’s no one-size-fits-all solution, let’s explore some creative ways to maximize its potential, including flooring options to keep your gear safe and organized.
Embrace the Open Space:
If you, like many van lifers, value storage space, consider keeping the “garage” area as open as possible. This allows you to easily access and organize larger gear, like bikes, camping equipment, or even sports equipment. Utilize bungee cords, cargo straps, or net organizers to secure items and prevent them from shifting during travel.
Shelving Solutions:
For those who crave organized chaos, shelves are your best friends. Install sturdy shelves along the walls or even consider modular shelving units that can be adjusted to fit your specific needs. This allows you to categorize and store smaller items, keeping them readily accessible and preventing clutter. Make sure to secure anything that might move.
Plumbing & Utility Considerations:
Some van lifers choose to integrate plumbing, water tanks, electrical systems, and other utilities within the “garage” area. While this can be functional, it requires careful planning and execution to ensure proper ventilation, water drainage, and secure mounting of components. If you choose this route, prioritize safety and utilize materials and techniques appropriate for plumbing and electrical installations.
Remember the Access:
No matter how you choose to design your van garage, consider easy access to stored items. Utilize hatches, doors, or removable panels to ensure you can easily retrieve gear without having to unpack everything.

Flooring for Functionality:
The floor of your van garage deserves a well-thought-out solution. While extending the vinyl flooring from your living area (as discussed in our flooring guide) creates a cohesive look, vinyl can be susceptible to scratches and dents from heavy equipment.
For the van garage, consider a more robust floor solution. Rubber flooring is a popular choice for its durability and water resistance. It can handle heavy gear, resist scratches, and is easy to clean. Additionally, rubber offers some degree of grip which can help prevent cargo from sliding around during travel.
Other options include plywood with a sealant or even recycled plastic tiles. The ideal choice depends on your budget, desired level of durability, and aesthetic preferences.
Matching Your Needs and Transitions:
Ultimately, the best floor for your van garage depends on your priorities. If you plan to store heavy equipment like bikes or tools, prioritize a durable option like rubber. If weight is a concern, consider thinner but water-resistant options like sealed plywood.
No matter your choice, ensure a smooth transition between the floor of your living area and the van garage. This creates a clean and finished look, as well as prevents dirt and debris from getting trapped in between.
By incorporating these tips, you can choose the perfect flooring and storage solutions for your van garage, ensuring it’s both functional, aesthetically pleasing, and ready to handle all your van life adventures!

Summary
Dreaming of hitting the road with everything you need by your side? A well-designed van bed and garage combo can be the key to unlocking the full potential of your van life experience. This guide has equipped you with the knowledge to create a functional and comfortable sleeping space while maximizing storage underneath for all your gear.
Here’s what you learned:
- Building a Strong Foundation: We walked you through framing your van bed platform using 2×4 studs securely bolted to the van body with rivet nuts.
- Crafting the Perfect Fit: You discovered how to meticulously cut and template your plywood sheets to perfectly match the unique contours of your van.
- Creating Clever Insets: We explored how strategic insets, especially for Ford Transit vans with curves, can maximize sleeping space for a full-size mattress while creating additional storage nooks.
- Unleashing Your Van Garage Potential: This section explored various ways to design your van garage, from open storage for large gear to incorporating shelves or keeping it minimalist with utilities placed elsewhere. We also covered choosing the right flooring option, like durable rubber, for maximum functionality.
Ready to take the next step?
- Week 6: Van Countertops: Join us next week as we delve into creating functional and stylish countertops for your van’s cooking and living space.
- Week 4: Van Walls and Framing: Missed our guide on framing your van walls? No problem! Check out last week’s post for a detailed breakdown of the framing process.
Building a dream van doesn’t have to be a solitary adventure!
Join our thriving DIY Camper Build community where you can connect with fellow van lifers, share ideas, and get inspired for your next project. Let’s create the ultimate van life experience together!


